After NeonCon 2010, I was taking a greater interest in finding some projects to work on as a way to get my hands dirty with some layout and project management in the gaming industry. I had met
Adam Jury of Posthuman Studios, publisher of the acclaimed
Eclipse Phase role-playing game, at that convention. I attended a workshop he was presenting, and we had some great discussion over lunch. So a few months later when Adam posted on Twitter that he would love to see a fanzine for
Eclipse Phase, my ears perked. I poked around the official forum and found that some enterprising individuals were already rounding up volunteers for the project, spurned on by the same message.
I joined the crew at
firewall-darkcast.com, and immediately volunteered to help with the fanzine. They had some contributors to the design discussion, but were lacking any committed layout artists, so I seized that mantle and took control. Through a series of discussions guided by the
more detailed sentiment that Jury posted on his blog, we settled on a pdf format that was optimized for quality printing at home or with a print service (the conversation threads that were involved in this process are publicly viewable on the darkcast forum, so I won't hash over their details here). This decision was made because they carry a sense of permanence. Blogs and site-only fanzines are subject to the tragedies of web hosting; site crashes, data loss, and disappearing through lack of use or because the author is no longer interested and takes it down. A single distributable file can be copied, downloaded, shared, and exist somewhere other than the site that hosts it.
My first step was to gather the required metrics including page size, page arrangement, cover type, etc. and then kick out a mock up page of a cover page and a few content pages that covered most of the expected layout options including sidebars, text, frames, images, headers, footers, and other furniture. I also built the beginning of a complete style guide that could later be distributed to any layout artists that took part so we could all maintain similar standards.
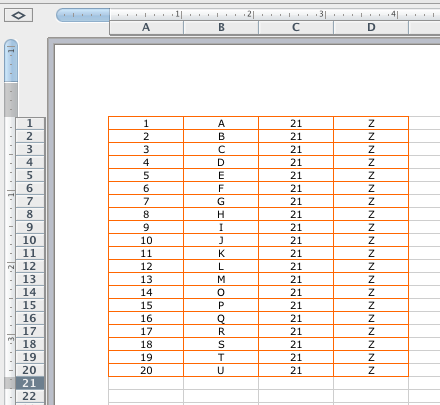
Once that was hammered out and posted, I started building master pages in InDesign, solidifying typefaces and paragraph styles for the copy and set up text grids. I set up several layers for each different type of element including text, art, background, sidebars, and headers that would all be used to create a layered pdf. I also started revising a final style guide that detailed page elements, all pieces of the style guides, color profiles, and all of the various optional page elements such as the frames for side bars and hooks.
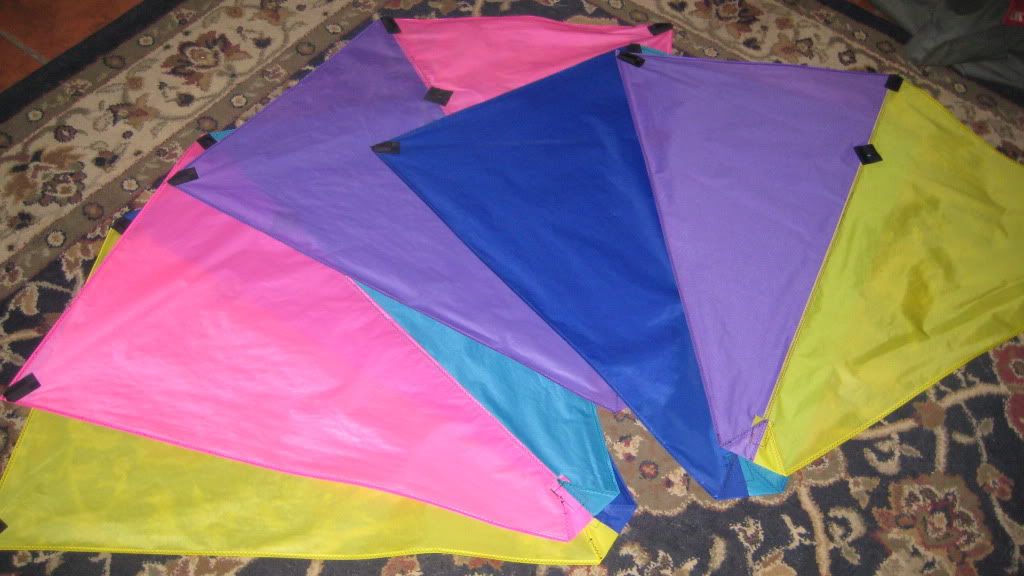
While all this was in development, fans and contributors were submitting articles and art to the firewall-darkcast, and editors were commenting and cleaning up the content in preparation for layout. I also started a competition to design the masthead image. I provided the group with sizes and specs, and they had a few weeks to turn out a graphic submission that would announce our fanzine. Once all of the submissions were voted on, the final design came from Trentin C. Bergeron (
@trechriron). Once the master pages were done, I began to pull the content and flow it onto the pages, formatting as I went, and pulling the different pieces to their respective layer. Images went in where I had them available, or were requested from the team. As the process continued I made tweaks to the style where I saw things that didn't quite work.
This was initially planned as a quarterly magazine, so there was no rush to a deadline; there was plenty of time to get things on the page and tease it all until it fit and looked fairly good. After all was said and done, I packed off the layered pdf to the dropbox and we posted it. We still had a challenge with generating buzz and site traffic, but we realized that this is a fairly focused demographic that we are shooting at, so we can't expect miracles.
The first issue can be downloaded
here.
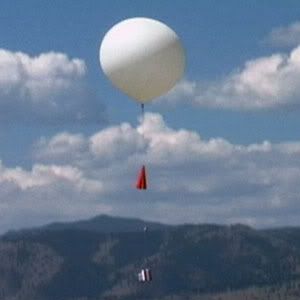
 Getting the helium out of the tank and into the balloon has taken more planning than I would have thought. I could plan on using a standard balloon valve that comes on rentals from the party store, but that's a pretty small seal when compared to the 2-3 inch neck of the sounding balloon. Instead, I have assembled an adapter that fits the 5/8" valve on the tank, and expands to a 3" collar. The balloon neck fits easily without much extra space.